Outline
- Introduction
- Creating New User with Root Level Privileges
- Secure Server by Providing Public Key Authentication to the User
- Disallow Remote SSH Access to the Root
- Conclusion
1. Introduction
After you create a server there are some basic server security setups that you should take. These setups increase the usability and security of the server. In this article I will go through some of them.
2. Creating new user with root level privileges
In Linux environment the root user has the highest level of administrative privilege and it is not advisable to use it on a regular basis. This is because
- There is a potential of making destructive changes accidentally.
- It could be an open door for attach since there are a lot of bots out there which try to log in to your computer over SSH to gain control.
Therefore it is good to disallow remote SSH access to the root user. Before doing that we need to create a new use.
Once login as a root to create a new use called “ermi”
adduser ermi
You will be asked to put password and other optional questions. Enter a strong password and, optionally, fill in any of the additional information if you would like. To skip the optional information simply press “ENTER”.
This use has a regular account privileges. However, we sometimes may need to do administrative tasks. So instead of relogin as a root user to do the task we need to give root level privilege to this user. This will allow the normal user to run commands with administrative privileges using the command sudo. To do this run the following command still as a root user.
gpasswd -a ermi sudo
To see how it work read the article How to Obtain Root Privileges.
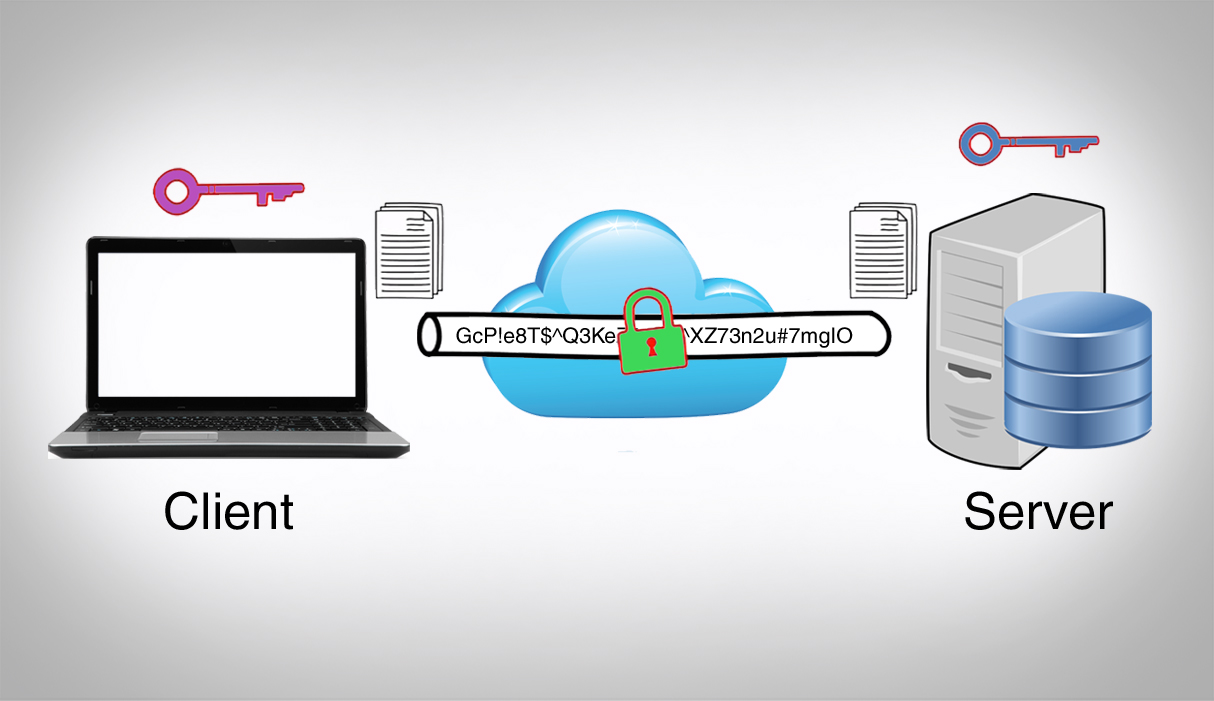
3. Secure Server by Providing Public Key Authentication to the User
To secure your server it is good to setup public key authentication.
First generate new key pair in the client machine (the machine which will have access to the server). To generate a new key pair run the following command:
ssh-keygen
To change the type (dsa or rsa) we can use -t option. The default is rsa.
ssh-keygen -t rsa
The output will look like this:
Generating public/private rsa key pair.
Enter file in which to save the key (/Users/admin/.ssh/id_rsa):
If you want to save the key in the default directory press “ENTER” or put full path of the directory you want to save the key.
Then you will be prompted to put passphrase to secure the key. (If you want additional security put a passphrase or press “ENTER”). Put the passphrase again.
This command will generate a private key, id_rsa and a public key, id_rsa.pub. Both of this keys will be inside .ssh directory found in the home directory of the user (admin in my case).
Now we have the key pair lets copy the public key to our server. This can be done in different ways
i. Using ssh-copy-id
If the client has the ssh-copy-id script installed, we can use this method to copy the public key to any server as long as we have the login credentials for the server. In our case we have the credentials for the user “ermi” in our server so we use the following command (note: replace the IP_ADDRESS with correct ip-address)
ssh-copy-id ermi@IP_ADDRESS
Provide the password, then the public key will be added to the server into the file /home/ermi/.ssh/authorized_keys. So our client can now login to the server using the corresponding private key.
ii. Using scp
We can also copy the public key using scp (secure shell copy) to the server. First change to the .ssh directory, and run the following command to copy it to the home directory of “ermi” user in the server which is /home/ermi or ~/:
scp id_rsa.pub ermi@IP-ADDRESS:~/
If it asks you to establish fingerprint say yes.
You will be asked to put the password for the user (ermi), put the password.
Now the public key is in the home directory of the user (ermi). But it should be in the .ssh directory inside the home directory.
So lets login to the server and create the .ssh directory (Note: this is done in the server not in the client).
mkdir .ssh
And move the file to the .ssh directory and rename it as authorized_keys
mv id_rsa.pub .ssh/authorized_keys
Now we need to give the correct permission to the ssh key.
a. the authorized_key has to have 600 permission. From the .ssh directory run the following command:
chmod 600 authorized_keys
b. the .ssh directory should have 700 permission. From the home directory run the following command:
chmod 700 .ssh
iii. Manually copy and paste the key
We can also open the public key using cat command and copy it then go to the server and create the .ssh directory and create a file authorized_keys file and paste it.
Then we need to set the correct permission as just like steep ii.
4. Disallow Remote SSH Access to the Root
Now that we have a use and set public key authentication we ca go farther and modify the SSH daemon configuration to disallow remote SSH access to the “root” account. SSH daemon is the program that allow us to log in remotely. Its config file is found in /etc/ssh/sshd_config.
Open the config file
nano /etc/ssh/sshd_config
Find the line that looks like this:
PermitRootLogin yes
Modify it by changing the “yes” to “no”.
PermitRootLogin no
This will prevent root from login through SSH. If we want to get root level privileges we can log in though our normal user account (ermi) and escalate our privilege using the command sudo.
To save the change press CTRL + x then press Y then press ENTER.
Now that we have made our change, we need to restart the SSH service so that it will use our new configuration. Use the following command to restart SSH:
service ssh restart
5. Conclusion
In Linux root user is often use to performing commands that affect system files. Because root is so powerful, it’s recommended to only request root access when necessary instead of log in as the root user. This means creating a normal use and give the user root level privilege. In addition to that it is highly recommended to use public key authentication and disallow remote SSH access to the “root” account. Doing this improves the security our server.